Below writeup demonstrate how you can use source control using GIT on your databricks code.
Azure Databricks has it’s own facility where you can maintain your code, no doubt. However, if you are using multiple technology (specially in a BI project, your bound to use ADF, MS SQL, Azure SQL server and so on), it is evident that you may have to use a single point to maintain all your development work.
I pick Azure devops as I wanted to keep it as the single source of truth.
As expected, Azure databricks can easily be integrated with Azure devops.
As I have already created a repository in GIT in devops, I’m not explaining that bit. However, I have a single repo containing my ADF_publish branch, ssis branch and main branch containing my final production.
Depending the size of your project and how your teams are structured you have the option of choosing how you may want to structure your branches. You may want to keep a separate branch for each feature/release or you may not want to create any branches at all and just push your changes into the main branch directly.
I’m using this for a very small project with just me working on this. However, to isolate the numerous changes I’m doing and also for clarity specially in case someone new joins in, I thought of creating branches for each feature.
As a test I created a feature branch called ‘databricks’

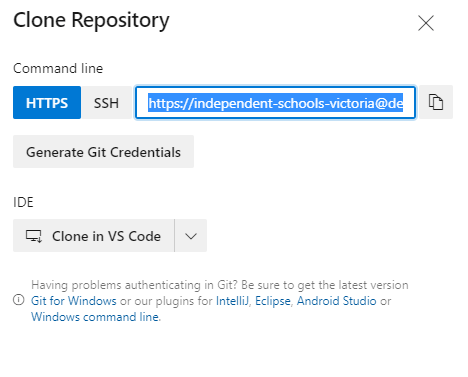
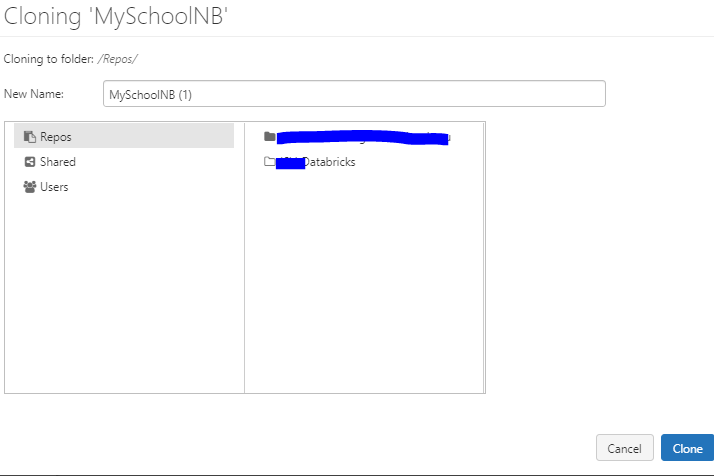
Go to the Repo and click on Clone. You will get the following window. Copy the HTTPS url somewhere and keep for the below steps.
Now, it is time to go to databricks end.
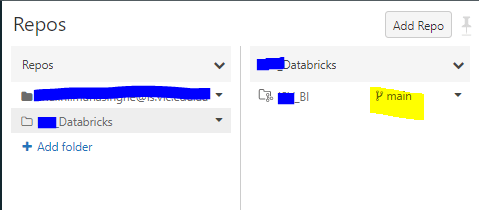
- First you need to make sure you have access to repo tab. If not, you may need to ask your admin to do that for you in databricks. You should be able to see the Repo section on your left hand pane.
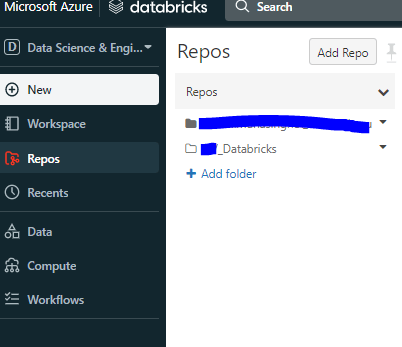
2. For my clarity, I added a folder here to which I can add the repository I have in devops.
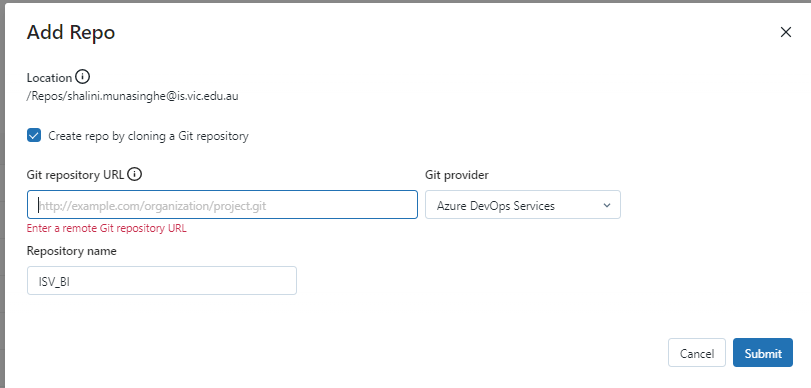
3. Click on ‘Add Repo’. You will need to entire the URL from GIT, which you copied from Devops earlier. Git provider and Repository Name will be automatically filled out for you.
4. Once the above step is done, you can navigate to your branch (main/feature branch) and list out the files.
5. If you already do not have any files, you can create them under any one of the above branches.

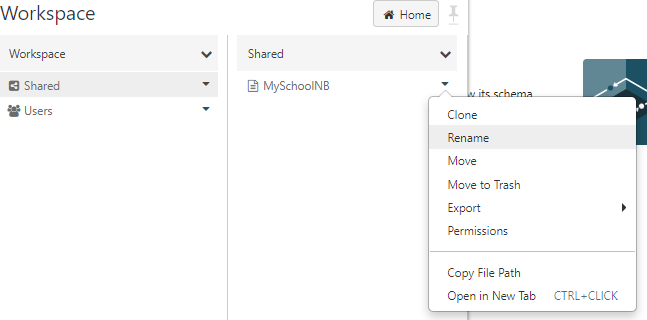
6. If you already have created any notebooks but are not added to the repo, you can do so by going to your workspace and right clicking on your notebook and selecting clone. You can select Repo -> and select which repository/folder you need to clone the files into.
7. Push changes into the branch – If you are maintaining feature branches, I would suggest to follow the conventional way where you push the changes into the branch and make a pull request using devops to merge the changes to the main branch.
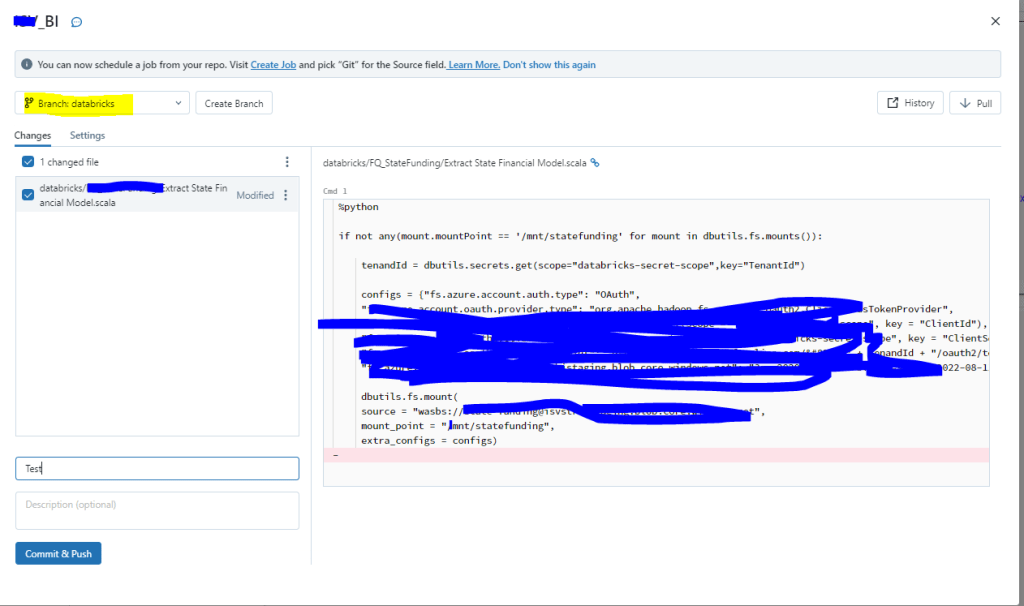
Either way, to push the changes, go into Repo -> Select the repo -> Click on the highlighted branch name in the below picture. It can be main or the name of your feature branch.
8. As shown below, you can create a new branch or select a branch. When you are ready you can type a comment and push the changes into the server.
Once all the changes are pushed, you can create a pull request in devops to merge the changes into the main branch.

Leave a comment